Today marks an exciting milestone for our backyard homestead! After 21 days of careful monitoring, our incubator hatched an impressive 22 out of 24 eggs – a success rate of nearly 92%! For those of you who have experienced the ups and downs of hatching your own chicks, you'll know this is worth celebrating. I wanted to share our experience, what we learned, and how this process has reinforced the value of our Backyard Xchange community.
Our Incubation Setup
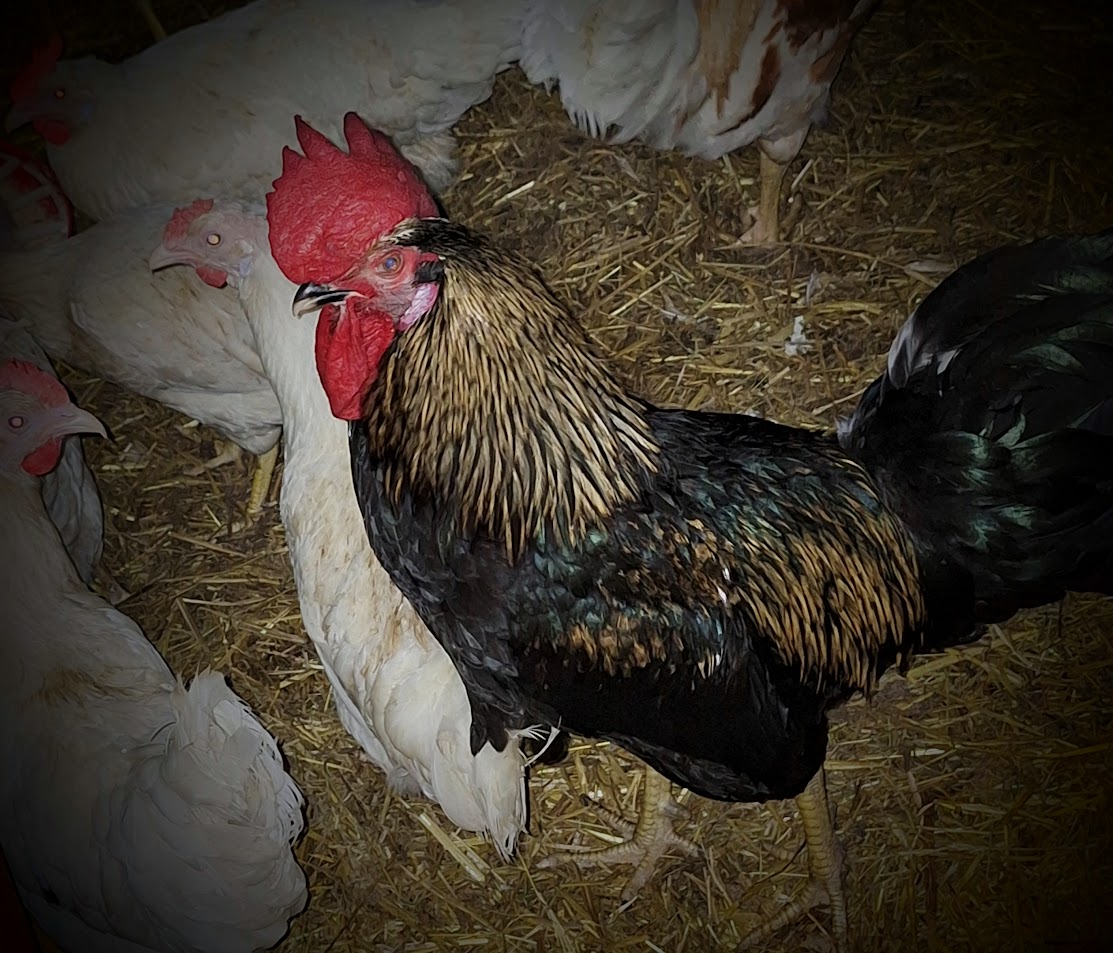
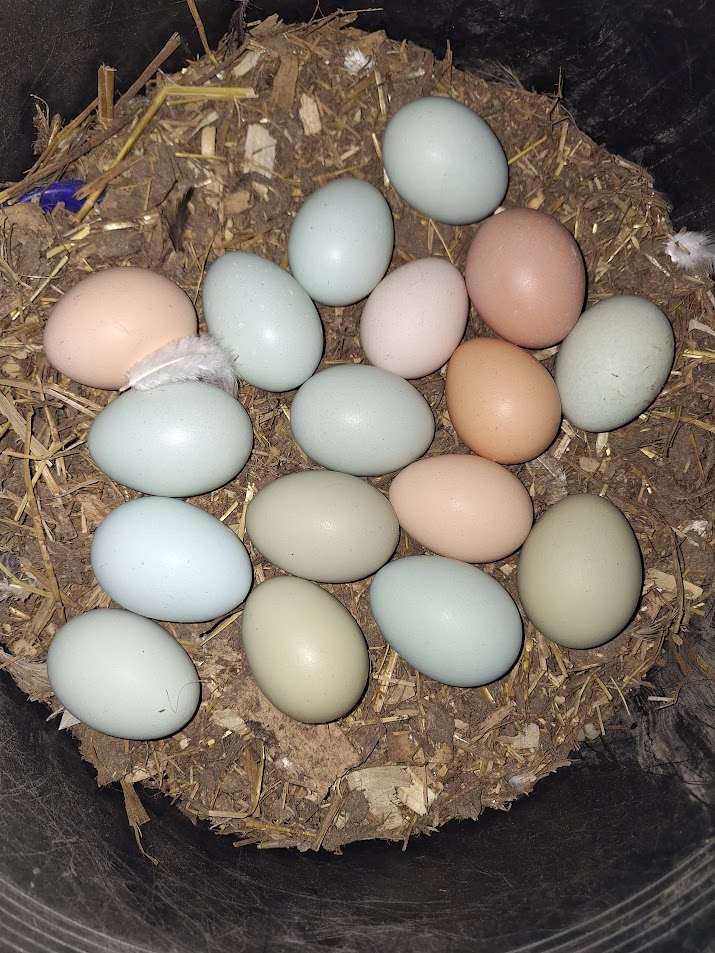
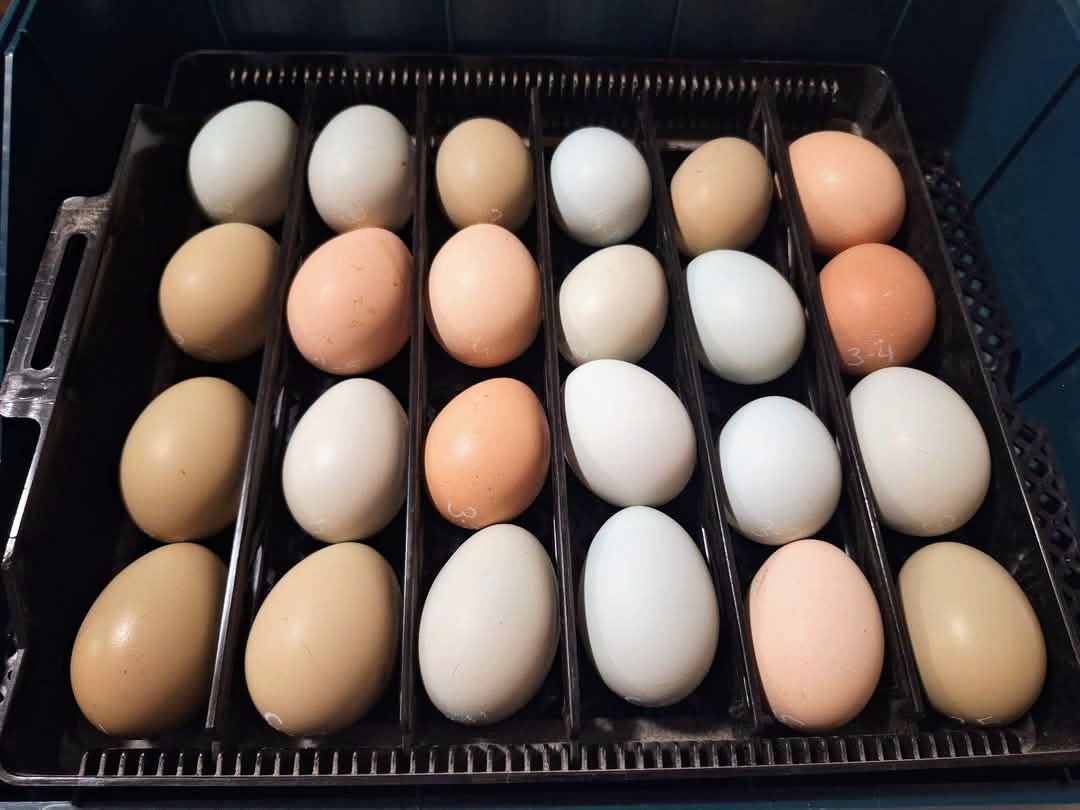
This hatch batch consisted of a mix of Barred Rock, Rhode Island Red, and Australorp eggs collected from our own flock and several Backyard Xchange members. We used our trusty Brinsea Ovation 28 EX incubator, which has served us well for the past three seasons.
Our Brinsea Ovation 28 EX incubator on day 18, just before lockdown
For those new to incubation, choosing the right equipment makes a significant difference. While there are many budget-friendly options on the market, we've found that investing in a quality incubator with reliable temperature control and automatic turning has drastically improved our hatch rates over the years.
Essential Incubator Settings
For this successful hatch, we maintained the following conditions:
- Temperature: 99.5°F (37.5°C) consistently throughout incubation
- Humidity: 45-50% for days 1-18, increased to 65% during lockdown (days 19-21)
- Turning: Automatic turning every 45 minutes for the first 18 days
- Ventilation: Gradually increased from 20% to 40% by day 18
The Candling Process
Candling is arguably one of the most informative (and exciting!) parts of the incubation journey. We candled our eggs at three key intervals: day 7, day 14, and day 18 before lockdown.
Day 14 candling showing strong development with visible veins and movement
During our first candling at day 7, we identified one egg that showed no signs of development – clear evidence it wasn't fertilized. While disappointing, this early detection is valuable as it allows you to remove any non-developing eggs before they potentially contaminate others.
What We Learned from the Failed Eggs
Out of our 24 eggs, we had just two that didn't make it to hatch:
- One unfertilized egg (identified during first candling)
- One embryo that developed until approximately day 16 but ultimately failed to progress
The second egg showed normal development until our day 14 candling, but by day 18, we noticed reduced movement and a strange positioning of the embryo. Upon examination after the hatch was complete, we discovered the embryo had developed a malposition, with its head away from the air cell. This is a relatively common issue that can happen even with perfect incubation parameters.
Don't be discouraged by less than 100% hatch rates. Even in nature, wild birds rarely achieve perfect hatches. A 90%+ success rate is exceptional for home incubation!
Hatch Day: The Big Event!
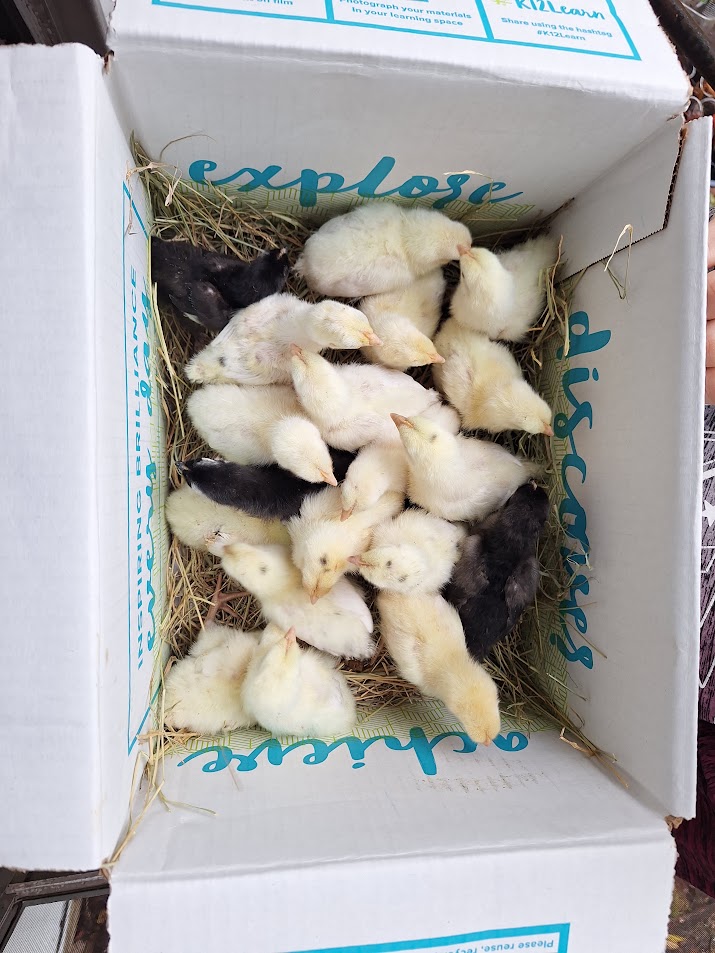
Hatching began early yesterday morning when we heard the first faint "peeping" sounds from inside the eggs. Within hours, we observed the first pip – that magical moment when the chick makes its first small hole in the shell.
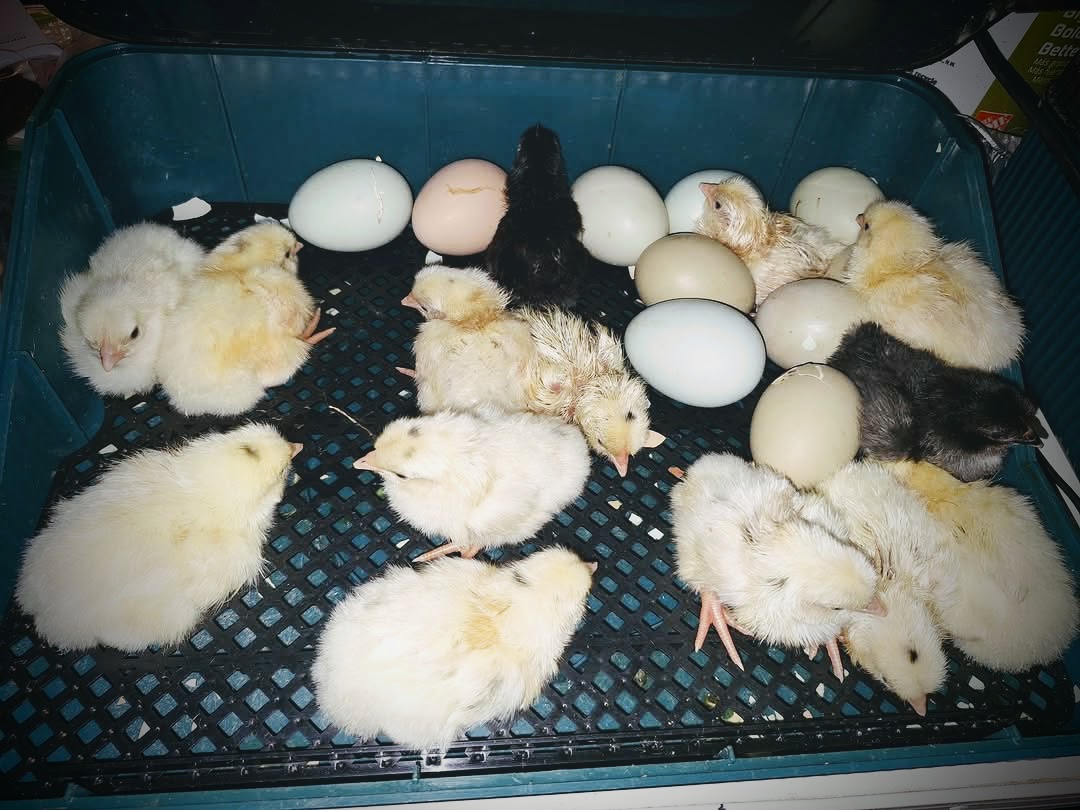
Some of our 22 newly hatched chicks drying in the incubator
Hatching Timeline
Here's how our hatch day unfolded:
- 5:30 AM: First pip observed
- 7:45 AM: First chick completely hatched
- 12:30 PM: Ten chicks fully hatched
- 6:00 PM: Eighteen chicks hatched
- 10:00 PM: Final count of 22 healthy chicks
One of the most important lessons we've learned over years of hatching is to resist the urge to help struggling chicks. The hatching process, though it may look difficult, helps develop the chick's strength and stimulates important physiological processes. Unless a chick has been struggling for many hours with no progress, it's best to let nature take its course.
Setting Up the Brooder
With 22 healthy chicks now actively exploring their new world, our brooder setup has become essential. We're using a large plastic tote with pine shavings, a red heat lamp maintaining 95°F at chick level, and two small chick feeders and waterers.
Our brooder setup with the new chicks exploring their environment
The chicks will remain in this setup for approximately 2-3 weeks before being transferred to our "intermediate brooder" – a small coop with an attached run that gives them more space while still providing supplemental heat as needed.
Finding Homes Through Backyard Xchange
Since we can't keep all 22 chicks (though I'd love to!), we've already arranged homes for 15 of them through the Backyard Xchange platform. This is exactly why we created this community – to connect local backyard farmers, share resources, and ensure healthy, ethically-raised animals find good homes.
Ten of the chicks will go to three different families starting their backyard flocks, while five will help an established homesteader expand her egg production business. The remaining seven will join our existing flock once they're old enough to integrate safely.
Conclusion
Every hatching experience teaches us something new, and this successful batch has reinforced the importance of patience, attention to detail, and having a supportive community to share the journey. Whether you're considering your first hatch or you're a seasoned pro, I hope our experience provides some useful insights for your next incubation adventure.
Have you had a memorable hatching experience? We'd love to hear about it in the comments below! And if you're looking to start your own flock or expand an existing one, check out our Exchange Board to connect with local poultry enthusiasts.